Pro Tips on Creating your Punch List
Oct 28, 2024
It’s almost time to wrap up your project, which means it’s time to tackle the punchlist. Often, it feels like we spend just as much time on our punch lists as we do on the rest of the project. You’re not alone—this phase frequently takes twice as long as expected and causes triple the amount of headache.
The good news is, with an effective system, we can reduce both the time and frustration spent on punchlists. There’s a necessary process to follow, yet many rehabbers and builders tend to wing it. In this blog post, we’ll show you how to handle punch lists like a pro.
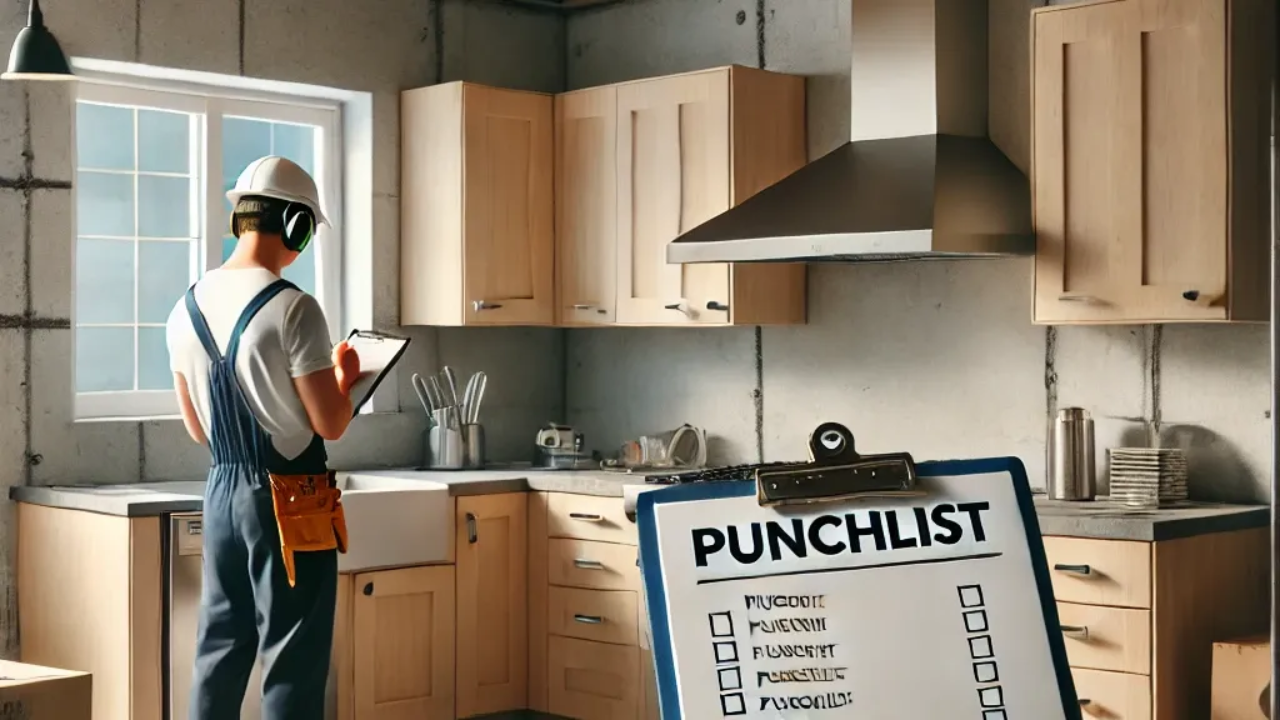
First of all, what is a punchlist? A punch list is a final checklist of tasks, corrections, or minor fixes that must be completed before a construction or rehab project is considered finished. It ensures that all work meets the agreed-upon specifications and is ready for final inspection and/or turnover. Here are some pro tips to help you create an effective and streamlined punchlist that ensures no stone is left unturned:
1. Make a Route
One of the first steps in creating your punchlist is establishing a clear and consistent route through the property. Every time you’re on-site, follow the same path to ensure nothing gets missed. By sticking to a set route, you’ll start to notice details more easily and ensure you cover all areas efficiently.
Pro Tip: Start with the rooms furthest from the front door and work your way through the house, finishing with the exterior. This usually means beginning in the primary bedroom or the top floor. Many new rehabbers and builders make the mistake of doing this in reverse—starting with the exterior and then working toward the furthest room. Professionals work from the inside out to streamline site visits, finishing with the exterior so they can hop into their truck and move on to the next project.
2. Categorize and List
After establishing your route, the next step is to systematically work through each room. Scan from top to bottom, as it's easy to overlook things higher up. Categorize tasks by room or area, listing all items that need to be completed before you can call the job done. Avoid making one long running list of tasks that can’t be tied to a specific room or space. In fact, this is one of the few times in project management where categorizing by room is highly recommended.
Pro Tip: Use blue tape to mark touch-up spots, and keep your punchlist focused on larger tasks that need attention. The punchlist should cover significant items rather than minor cosmetic details.
3. Simplify and Assign
After moving through the entire property and jotting down your notes, it's time to simplify and organize the punchlist. The key here is simplification—if your punchlist is longer than three pages, it may be too early to create, or you haven't consolidated it effectively. Often, tasks can be grouped together or explained more concisely.
Assign each task to the appropriate subcontractor or employee so everyone knows their responsibilities. You can easily do this by noting the responsible subcontractor or vendor next to the punchlist item. This not only streamlines the process but also ensures accountability.
4. Send to Subcontractors and Employees
Collaboration is key to completing your punchlist quickly and efficiently. Once your list is ready, distribute it to your subs and employees as soon as possible. Some of the best tools for sharing and collaborating include Apple Notes, email, and Google Drive. Since tasks are already assigned to each subcontractor, simply instruct them to find their name on the list and get the job done.
5. Post the Punchlist On-Site
It’s essential to keep the punchlist visible and accessible on-site, so everyone can easily reference it. Having a physical copy on hand allows subcontractors and employees to quickly check off tasks as they complete them, ensuring nothing gets overlooked. This also helps to keep everyone on the same page, reducing confusion and speeding up the completion of the project.
Pro Tip: We recommend making the punchlist larger than normal for ease and clarity. A great method is to write the list on a large sheet of flooring paper and place it on the kitchen countertop. This makes it easy to see and encourages team members to stay on track.
Final Note:
One key to making punchlists more manageable is to minimize the amount of work left for the punchlist by effectively managing tasks throughout the project. In other words, aim to keep your punchlist as short as possible by addressing issues as they arise. If a subcontractor doesn’t complete their work fully or appropriately earlier in the project, don’t wait to add it to the punchlist—handle it immediately. The punchlist phase is already hectic, so avoid piling on more tasks. Every time you spot something incomplete, get it fixed right away to ease the workload when it’s time for the final punchlist.
Now get to work!
With these tips, you can handle punchlists with greater ease and speed. The last thing you want is to be slowed down or stalled during this crucial phase. Make sure to create a clear route, categorize tasks effectively, assign responsibilities clearly, communicate early, and post your punchlist on-site. This is how you rehab and build like a pro, setting yourself apart from those who don’t have a solid process in place.
